
Refrigeration System Purging is a critical maintenance protocol designed to maintain the integrity of a closed-loop thermal management system by removing non-condensable gases (NCGs) such as nitrogen, oxygen, and carbon dioxide. Within the technical stack of a hyperscale data center or industrial energy plant, this process functions as a hardware-level optimization that ensures the maximum heat-rejection throughput of the physical infrastructure. When non-condensables enter the system, they migrate to areas of low velocity, typically the top of the Condenser-Coil or the high-pressure receiver, where they create a secondary gas layer. This layer increases the total head pressure beyond the saturated pressure of the refrigerant, leading to a significant increase in the Compressor-Work-Ratio and overall energy overhead. By executing a controlled purge, administrators reduce the thermal-inertia of the cooling loop, eliminate the latency in heat transfer, and prevent the mechanical degradation associated with high-discharge temperatures. This manual provides the architectural framework for identifying, isolating, and removing these parasitic gases to restore nominal operational efficiency.
TECHNICAL SPECIFICATIONS
| Requirement | Default Port / Operating Range | Protocol / Standard | Impact Level (1-10) | Recommended Resources |
| :— | :— | :— | :— | :— |
| Purge-Recovery-Unit | 0 to 450 PSI | EPA Section 608 | 9 | 120V AC / 15A Circuit |
| Refrigerant-Manifold | -30 inHg to 500 PSI | ASHRAE Standard 15 | 8 | Aircraft Grade Aluminum |
| High-Pressure-Hose | 800 PSI Working Limit | SAE J2196 | 7 | PTFE Lining / SS Braid |
| Temperature-Probe | -50C to 150C | NIST Traceable | 6 | 0.1C Resolution |
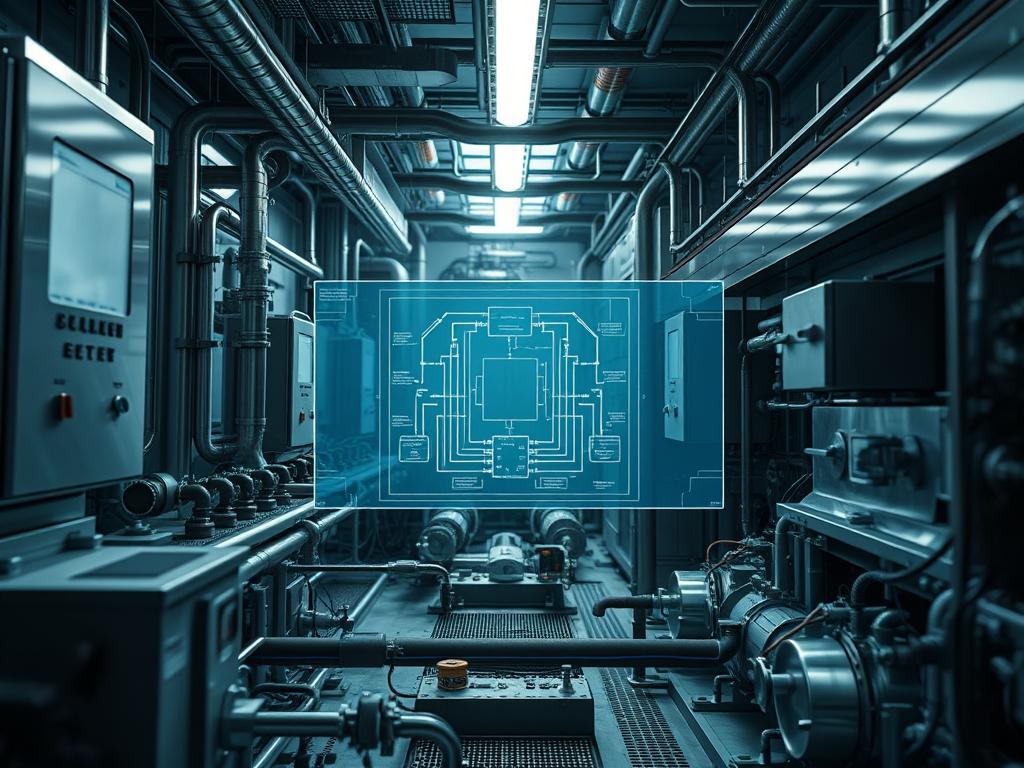
| Logic-Controller | 4-20mA Signal Loop | Modbus TCP/IP | 5 | 512MB RAM / ARM Cortex |
THE CONFIGURATION PROTOCOL
Environment Prerequisites:
Prior to initiating Refrigeration System Purging, the lead architect must ensure that the facility maintains compliance with local environmental regulations and safety standards. Necessary prerequisites include:
1. Valid EPA Section 608 Universal Certification for all participating technicians.
2. Calibration certificates for Differential-Pressure-Transducers and Thermistors within a six-month window.
3. Availability of a dedicated Refrigerant-Recovery-Cylinder rated for the specific pressurized payload.
4. Total system isolation via Lock-Out-Tag-Out (LOTO) on all non-essential Circulation-Pumps and Evaporator-Fans if the purge is performed during a full system shutdown.
5. Integration with the Building-Management-System (BMS) to suppress low-pressure alarms during the evacuation or isolation phase.
Section A: Implementation Logic:
The fundamental physics governing this procedure is Dalton’s Law of Partial Pressures, which states that the total pressure in a container is the sum of the pressures of each individual gas. In a standard cooling loop, the pressure should correspond exactly to the saturated temperature of the refrigerant. Any pressure measured above this saturation point is the result of non-condensable ingress. These gases act as an insulator on the internal surfaces of the Condenser-Tubes, effectively creating a “gas-buffer” that increases the thermal-resistance of the heat exchanger. This leads to a higher Approach-Temperature, forcing the Compressor-Logic to ramp up its frequency to meet the cooling demand. This increases the power-draw and reduces the coefficient of performance. By purging at the highest point of the system when the refrigerant is at its lowest velocity, we can extract the lighter non-condensable payload with minimal loss of the primary refrigerant medium. This process is idempotent in its goal: returning the system to a known-clean state where the pressure-temperature relationship aligns with the official refrigerant lookup tables.
Step-By-Step Execution
Step 1: Baseline Pressure-Temperature Stabilization
The operator must allow the system to reach a state of equilibrium. If the system is offline, allow the fans to run until the Condenser-Saturated-Temperature aligns with the ambient air temperature.
System Note:
This action stabilizes the internal thermodynamic state; it ensures that any pressure delta detected is caused by non-condensables rather than transient heat loads on the Evaporator-Core.
Step 2: Identification of the Purge-Point
Identify the highest point in the High-Side-Circuit, usually the top of the Receiver-Tank or the Crossover-Header of the condenser. Attach the High-Pressure-Hose to the Schrader-Service-Valve.
System Note:
Choosing the correct physical port is vital; non-condensables are less dense than liquid refrigerant and will naturally migrate to these high-elevation stagnant zones when flow velocity decreases.
Step 3: Deployment of the Purge-Control-Unit
Connect the Purge-Unit-Inlet to the system Service-Valve and the Purge-Unit-Outlet to the Recovery-Cylinder. Verify that the In-Line-Filter-Drier is clear and the moisture indicator is green.
System Note:
The Purge-Unit acts as a specialized separator; it uses a small internal heat exchanger to condense any refrigerant gas back into liquid, while allowing the air to be expelled into the Recovery-Cylinder.
Step 4: Initializing the Separation Algorithm
Activate the Purge-Logic-Controller. Set the threshold for the Purge-Differential to 5 PSI above saturation. Open the Liquid-Injection-Valve to the purge chamber to begin the sub-cooling process.
System Note:
This step manipulates the local thermal-inertia within the purge chamber; by cooling the mixture, we maximize the density difference between the refrigerant and the non-condensable gases.
Step 5: Monitoring the Discharge Cycle
Observe the Purge-Pressure-Gauge and the Sight-Glass. The unit will intermittently vent gases into the Recovery-Cylinder. Monitor the Amperage-Draw of the internal compressor to ensure it remains within nominal parameters.
System Note:
The Discharge-Solenoid operation is governed by the PLC; it monitors the concentration of non-condensables and triggers a vent cycle only when the air-to-refrigerant ratio exceeds the programmed limit.
Step 6: Final Verification and System Re-integration
Continue the cycle until the Manifold-Gauge shows the system pressure has fallen to within 1 PSI of the saturated pressure for the measured ambient temperature. Close all Service-Valves and disconnect the hardware.
System Note:
Closing the valves restores the encapsulation of the primary cooling loop; this prevents any atmospheric ingress during the removal of the service tools.
Section B: Dependency Fault-Lines:
The most frequent failure point in Refrigeration System Purging is the “false-purge” caused by faulty Pressure-Transducers. If the sensor has a positive drift, the controller may attempt to purge even when no air is present, leading to the loss of expensive refrigerant payload. Another bottleneck is the Orifice-Tube within the purge unit itself; if it becomes clogged with debris or wax from the Compressor-Lubricant, the unit will fail to sub-cool the incoming gas mixture, rendering the separation process ineffective. Furthermore, if the Condenser-Fans are not operating at a constant RPM during the purge, the fluctuating ambient airflow will cause signal-attenuation in the temperature readings, resulting in inaccurate saturation calculations and potential system instability.
—
THE TROUBLESHOOTING MATRIX
Section C: Logs & Debugging:
When diagnosing purge inefficiencies, the architect should first examine the BMS-Error-Logs at /var/log/hvac/purger_stat.log. Look for error code EP-404-NON_COND, which indicates a persistent pressure delta that the automated system cannot resolve.
1. High Head Pressure with Low Sub-cooling: This indicates a massive accumulation of non-condensables at the condenser exit. Check the Liquid-Line-Temperature using a Fluke-52-II-Thermometer. If the temperature is close to the ambient air but pressure is high, the purge site is likely air-bound.
2. Rapid Solenoid Cycling: If the Purge-Solenoid cycles more than ten times per minute, check for a “leak-into-vacuum” scenario on the suction side. Air may be entering the system through a worn Compressor-Shaft-Seal faster than the purge unit can remove it.
3. Sensor Discrepancy: Compare the manual Analog-Gauge reading with the Digital-Sensor-Output on the HMI. A variance of more than 2 percent suggests that the Pressure-Transducer requires recalibration or replacement to prevent invalid data-payloads in the control loop.
—
OPTIMIZATION & HARDENING
Performance Tuning: To maximize heat exchange throughput, the purging process should be coupled with a Condenser-Coil cleaning. Removing physical debris from the fins reduces the Static-Pressure of the air-side, allowing the refrigerant to reach a lower saturated temperature. This reduces the total energy consumption of the Compressor-Stack by lowering the compression ratio.
Security Hardening: Access to the Purge-Logic-Controller should be restricted through VLAN-Segmentation and MAC-Address-Filtering. Physical hardening includes the installation of Locking-Valve-Caps on all service ports to prevent unauthorized tampering or accidental discharge of the refrigerant. Ensure that the High-Pressure-Cutout is hard-wired and bypasses all software logic for fail-safe physical operation.
Scaling Logic: In large-scale deployments with multiple chillers, a centralized High-Efficiency-Purge-System can be installed. This involves a dedicated header that connects all high-pressure receivers to a single, high-capacity purge unit. This centralized architecture allows for concurrent purging across multiple hardware nodes, reducing the labor-overhead and ensuring consistent thermal-efficiency across the entire data center infrastructure.
—
THE ADMIN DESK
How do I know if purging is necessary?
Check your Pressure-Temperature (PT) chart. If the measured pressure is more than 3 to 5 PSI higher than the saturated pressure for your current temperature, non-condensables are present and increasing your system overhead.
Will purging recover all lost efficiency?
Purging corrects pressure-related overhead but cannot fix mechanical wear or fouled heat exchanger surfaces. It is one component of a holistic maintenance strategy to maintain peak system throughput and reduce thermal-inertia.
Can I purge while the system is running?
Yes, provided you use an automatic Purge-Recovery-Unit. Manual purging is best performed when the system is off and stabilized to allow non-condensables to separate and rise to the top of the condenser.
What happens if I over-purge?
Over-purging leads to the loss of the primary refrigerant payload. This can cause the system to run under-charged, leading to high superheat, poor cooling performance, and potential compressor damage due to lack of cooling.
Is air the only non-condensable gas?
No; non-condensables also include nitrogen left from improper evacuation after repairs or gases created by the chemical breakdown of Refrigerant-Oil due to extreme heat or moisture contamination within the loop.