
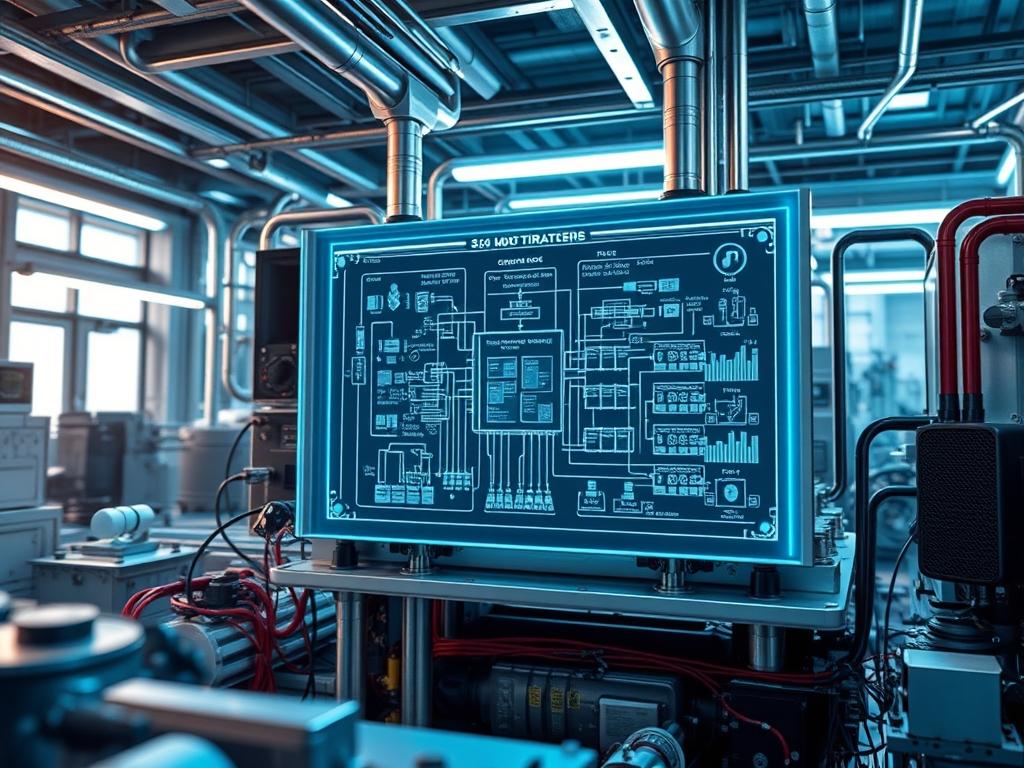
ASHP Inverter Board Cooling is a fundamental requirement for the operational integrity of modern Air Source Heat Pump systems. These components represent the intersection of power electronics and digital control logic within the broader energy and grid infrastructure stack. The inverter board, essentially a high-capacity Variable Frequency Drive (VFD), manages the conversion of AC grid power into high-frequency DC and then back to variable-frequency AC to drive the compressor motor. This process generates significant waste heat via switching losses in the Insulated-Gate Bipolar Transistors (IGBT) and Metal-Oxide-Semiconductor Field-Effect Transistors (MOSFET).
The technical challenge lies in managing the thermal-inertia of the assembly to prevent localized hot spots that lead to catastrophic dielectric breakdown. Effective ASHP Inverter Board Cooling ensures that the junction temperature of semiconductor components remains within a sustainable range, typically below 85 degrees Celsius, to prevent thermal throttling or hardware failure. In the context of critical infrastructure, such as cloud data center climate control or large-scale residential energy networks, the failure of a single inverter board can introduce significant latency in climate stabilization and increase the overall maintenance overhead. This manual provides the engineering framework for implementing, monitoring, and optimizing these cooling systems to ensure maximum electronic longevity and system throughput.
TECHNICAL SPECIFICATIONS
| Requirement | Default Port/Operating Range | Protocol/Standard | Impact Level (1-10) | Recommended Resources |
| :— | :— | :— | :— | :— |
| Operational Temp | -20C to +65C Ambient | IEC 60068-2-2 | 10 | AL6063-T5 Heatsink |
| Switching Frequency | 2 KHz – 16 KHz | IEEE 519 | 8 | PWM Control Logic |
| TIM Conductivity | 3.5 W/mK (Minimum) | ASTM D5470 | 9 | Non-silicone Paste |
| Fan Control Bus | PWM / 0-10V | MODBUS RTU | 7 | 12V/24V DC Rails |
| Bus Voltage | 380V – 460V DC | NEC Article 440 | 10 | 105C Rated Capacitors |
THE CONFIGURATION PROTOCOL
Environment Prerequisites:
Before initiating the cooling assembly or software integration, ensure the following standards and permissions are met:
1. Compliance with NEC 2023 Section 440 for air-conditioning and refrigerating equipment.
2. Verified access to the localized controller via SSH or Serial Console with root or sudo permissions.
3. Installation of thermal monitoring libraries such as lm-sensors or vendor-specific SDKs for the ARM or x86 gateway managing the unit.
4. Firmware version requirements: VFD-OS v4.2.0 or higher to support advanced PID fan curves.
5. Calibrated Fluke-multimeter and thermal imaging camera for baseline validation.
Section A: Implementation Logic:
The engineering design for ASHP Inverter Board Cooling utilizes the principle of forced convection coupled with high-efficiency conduction. The goal is to minimize the thermal resistance between the IGBT junction and the ambient air. By applying a structured payload of cooling logic, we can manage the thermal-inertia of the system. This involves a feedback loop where the thermistor data is encapsulated into a control signal, reducing the latency between a temperature spike and fan acceleration. Proper cooling design reduces the overhead on the power supply units and prevents signal-attenuation in the sensitive control traces of the PCB, which can be caused by excessive heat-induced resistance.
Step-By-Step Execution
1. Component Preparation and TIM Application
Apply a thin, even layer of Thermal Interface Material (TIM) to the surface of the IGBT modules and the bridge rectifier. Use a spatula to ensure no air bubbles are trapped during the encapsulation of the thermal interface.
System Note: The TIM fills microscopic air gaps between the component and the heatsink. Improper application increases thermal resistance, leading to rapid temperature-induced latency in the switching response of the VFD.
2. Physical Heatsink Integration
Torque the AL6063 Heatsink onto the board using a cross-pattern sequence to ensure even pressure distribution. Verify that the mounting screws are tightened to the manufacturer-specified Nm rating.
System Note: Uneven pressure causes the board to flex, potentially cracking solder joints or creating gaps in the thermal path. This step is idempotent in theory but must be verified with a depth-gauge in high-vibration environments.
3. Fan Controller Initialization
Connect the high-static pressure fans to the PWM headers on the control board. Use the command line to verify the peripheral is recognized by the system kernel.
Command: ls /sys/class/hwmon/
System Note: This command lists all hardware monitoring devices. Identifying the correct hwmon path is essential for establishing a software-based fail-safe that triggers a system shutdown if the fan RPM drops below the safety threshold.
4. Cooling Loop Logic Configuration
Edit the configuration file located at /etc/thermal/coolant.conf to define the PID (Proportional-Integral-Derivative) parameters. Set the target setpoint to 45C to allow for a safety margin before the T-junction limit is reached.
Command: sudo nano /etc/thermal/coolant.conf
System Note: Adjusting the P-gain and I-gain ensures that the fan speed responds proportionally to the heat load, preventing oscillation where the fan speed fluctuates rapidly, which increases mechanical wear.
5. Service Activation and Monitoring
Enable the thermal management service to ensure it starts on every boot cycle. Use systemctl to initialize the process and check the status of the thermal sensors.
Command: sudo systemctl enable –now thermal-monitor.service
Command: sensors
System Note: Enabling this service ensures that the cooling logic is persistent across power cycles. The sensors output provides a real-time stream of the die temperature, allowing the architect to verify that the throughput of the cooling system matches the thermal payload of the inverter.
Section B: Dependency Fault-Lines:
Software conflicts often arise when the ACPI (Advanced Configuration and Power Interface) in the kernel interferes with the specialized ASHP control logic. If thermal-monitor.service fails to start, check for locked I2C buses. Hardware-level bottlenecks usually involve “clogged” thermal fins or degraded TIM, which increases the thermal-inertia to a point where the software cannot react fast enough to prevent a high-temp trip. Ensure that the airflow path is not obstructed by other components in the energy stack, as this leads to heat recirculation.
THE TROUBLESHOOTING MATRIX
Section C: Logs & Debugging:
When a fault occurs, the first point of analysis should be the system journal. Look for strings such as “Critical Temperature Reached” or “Fan Tachometer Signal Loss”.
Log Path: /var/log/ashp_thermal.log or journalctl -u thermal-monitor.service
Common fault codes include:
- E05: Fan stall detected. Check for physical obstructions or signal-attenuation in the PWM cable.
- E09: Over-temperature lockout. This indicates the IGBT exceeded 100C. Inspect the TIM and verify the heatsink is seated correctly.
- P02: Voltage fluctuation in the cooling rail. Check the DC-DC converter providing power to the fans.
For sensor readout verification, use the command cat /sys/class/thermal/thermal_zone*/temp. The output is in millidegrees Celsius. If you see a value of -1000, the sensor has a disconnected ground or a broken trace.
OPTIMIZATION & HARDENING
Performance Tuning:
To increase the throughput of the cooling system under high load, increase the PWM carrier frequency to reduce audible noise and improve fan motor efficiency. Fine-tune the concurrency of the cooling tasks by isolating the thermal monitoring process to a specific CPU core using taskset. This ensures that the cooling logic is never delayed by other system processes, minimizing the risk of thermal runaway.
Security Hardening:
Restrict access to the thermal configuration files using restrictive chmod settings.
Command: sudo chmod 600 /etc/thermal/coolant.conf
Ensure that the physical control logic has a “hardware-only” override. This is a physical thermostat that cuts power to the compressor if the heatsink exceeds 90C, independent of any software state. This prevents a compromised or crashed OS from allowing the hardware to melt.
Scaling Logic:
In a multi-unit ASHP deployment, cooling data should be aggregated to a central dashboard. Use encapsulation to send thermal telemetry via MQTT to a monitoring server. If one unit consistently runs 10% hotter than the others at the same load, it indicates a hardware-level deviation that requires preemptive maintenance.
THE ADMIN DESK
How do I check if the fan is actually responding to PWM commands?
Use the pwmconfig tool to manually set the fan speed. Observe the RPM change in the sensors output. If the speed remains constant despite changes in the duty cycle, the fan controller or the fan motor is defective.
The inverter board is hot but the heatsink is cold. What is wrong?
This indicates a total failure of the thermal interface. The heat is not being conducted from the IGBT to the heatsink. Power down immediately and reapply the TIM after cleaning the surfaces with isopropyl alcohol.
Can I run the cooling system at 100% duty cycle at all times?
It is possible but not recommended. Constant maximum speed increases the overhead on the power supply and reduces the mechanical lifespan of the fan bearings. It is better to use a properly tuned PID loop.
Why does the system report “Packet Loss” in the thermal log?
This happens when the I2C or SMBus used for sensor communication is suffering from electromagnetic interference from the high-voltage lines. Ensure all sensor wires are shielded and grounded.
What is the most common cause of long-term board degradation?
Thermal cycling is the primary culprit. Frequent temperature swings cause the solder balls under the BGA components to fatigue. Maintaining a steady, slightly elevated temperature is often better than allowing the board to rapidly heat and cool.