
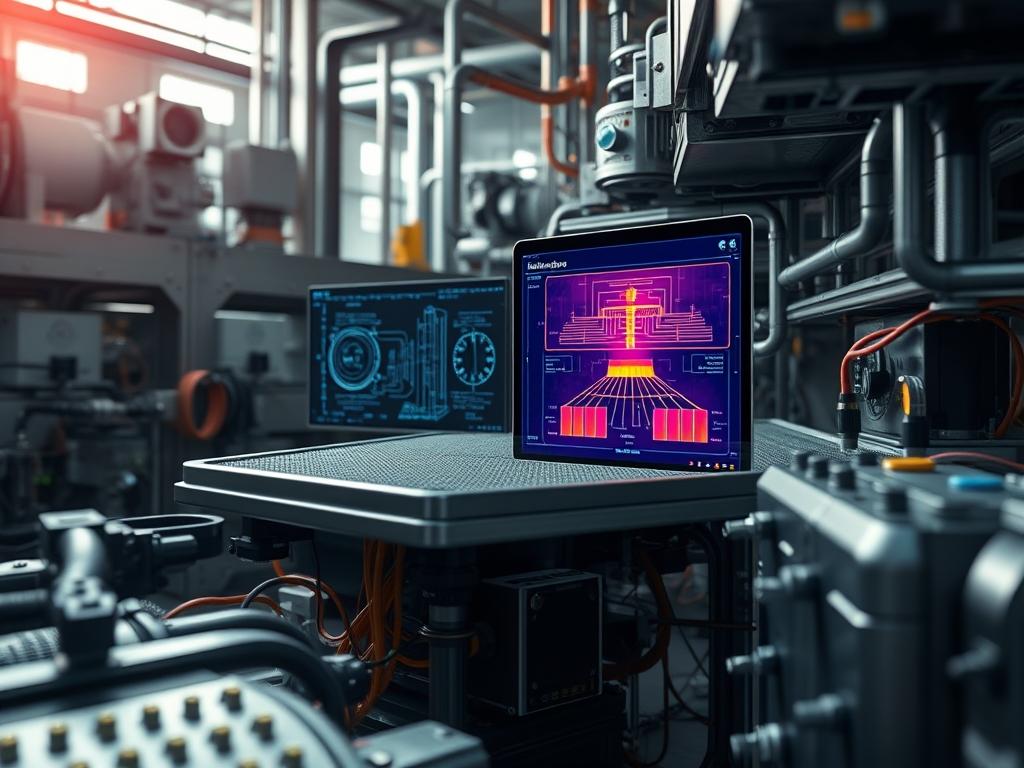
Thermal Imaging for Passive Loss serves as a critical diagnostic layer within modern industrial and data center architectures; it facilitates the detection of energy dissipation that does not immediately result in system failure but significantly degrades efficiency. In the context of the broader technical stack, this methodology addresses the intersection of thermodynamics and electrical engineering by identifying anomalies in heat signatures across physical assets such as busbars, power distribution units, and high-density server racks. Passive loss manifests as unwanted thermal-inertia where heat is retained in components due to poor connections, unbalanced loads, or insulation breakdown. By integrating thermal imaging into the standard audit cycle, architects can transition from reactive maintenance to an idempotent state of proactive optimization. This process mitigates risks associated with signal-attenuation in high-frequency cabling and prevents catastrophic hardware failure by identifying the precise coordinates of radiative energy loss before the thermal threshold of the material is exceeded.
TECHNICAL SPECIFICATIONS
| Requirement | Operating Range | Protocol/Standard | Impact Level | Resources |
| :— | :— | :— | :—: | :— |
| IR Sensor Resolution | 640 x 480 Minimum | ASTM E1316 | 9 | High-density FPA |
| Spectral Range | 7.5 to 14 microns | LWIR (Long-wave IR) | 7 | Germanium Optics |
| Thermal Sensitivity | < 0.030 degrees C | ISO 18434-1 | 8 | 120mK or better |
| Frame Rate | 30Hz to 60Hz | IEEE 802.11ax / USB 3.0 | 6 | 8GB RAM Minimum |
| Data Processing | -20C to +650C | Modbus TCP / MQTT | 10 | Quad-core Logic |
THE CONFIGURATION PROTOCOL
Environment Prerequisites:
Execution of a thermal audit requires adherence to several baseline standards and environment configurations. The auditor must possess Level I or Level II Thermography Certification according to ASNT SNT-TC-1A guidelines. All hardware utilized must support radiometric data export to ensure that every pixel contains a discrete temperature value rather than simple RGB approximations. Necessary software includes specialized analysis suites like FLIR Research Studio or SmartView for post-processing thermal payloads. From a software perspective, if utilizing networked thermal sensors, ensure the target gateway allows traffic on Port 502 for Modbus or Port 1883 for MQTT. User permissions must be elevated to root or Administrator to interface with the low-level camera drivers and system-wide logging services.
Section A: Implementation Logic:
The engineering design of a thermal audit rests on the principle of emissivity ($\epsilon$), which defines the ratio of energy radiated by a specific material to that of a perfect blackbody. In industrial environments, varying materials (copper, PVC, aluminum) exhibit different emissivity coefficients, which can lead to false readings if not properly accounted for in the configuration logic. Passive loss detection relies on identifying “Delta-T” (temperature difference) between a baseline component and the component under load. By measuring the thermal-inertia of an assembly, we can determine the health of the connection; as resistance increases due to oxidation or loose torque, the heat output rises, leading to increased signal-attenuation and eventual component degradation. This diagnostic approach encapsulates the physical state of the infrastructure into a visual data stream that can be audited for consistency across high-load periods.
Step-By-Step Execution
1. Sensor Calibration and NUC Application
Initialize the thermal imaging hardware and allow the sensor to reach steady-state operating temperature, which typically requires five to ten minutes of uptime. Perform a Non-Uniformity Correction (NUC) by triggering the internal shutter via the command camera-ctl –trigger-nuc.
System Note: This action resets the gain and offset for each individual pixel on the microbolometer array; it ensures that the raw data ingest is free from sensor noise or “ghosting” artifacts that could obscure minute passive loss points.
2. Parameter Initialization and Emissivity Mapping
Access the camera configuration menu or the remote CLI to set the global emissivity value. For standard electrical enclosures, set EMISSIVITY=0.95. If inspecting bare copper busbars, utilize high-emissivity tape or spray to create a reference point, then adjust the local variable REF_TEMP to match the ambient environment.
System Note: Incorrect emissivity settings result in a calculation error at the application layer; adjusting these variables alters the algorithmic conversion of infrared radiation into temperature values within the camera kernel.
3. High-Load Throughput Scanning
Conduct the scan while the system is operating at a minimum of 40 percent of its rated capacity. Use a systematic pattern to capture all conductive paths, focusing on termination points where the risk of high-resistance contact is greatest. For networked sensors, use systemctl start thermald-service to begin continuous data logging to the centralized repository.
System Note: Scanning under low-load conditions is ineffective because the thermal-inertia of the components prevents the detection of passive loss until the current throughput is sufficient to generate measurable heat.
4. Qualitative and Quantitative Analysis
Capture radiometric images of identified “hot spots.” Use the software analysis tool to draw a “Region of Interest” (ROI) and compare the maximum temperature of the fault to a reference component on a different phase. Use the command thermal-analyze –input capture.seq –mode delta-t to generate a comparative report.
System Note: This step calculates the payload of thermal energy being dissipated; it determines if the anomaly is a “Critical” (Level 1) or “Monitored” (Level 3) fault based on the severity of the temperature rise above baseline.
5. Automated Alert Configuration and Integration
Integrate the findings into the Building Management System (BMS) or Data Center Infrastructure Management (DCIM) tool. Configure a webhook to trigger an alert if a specific sensor’s readout exceeds a predefined threshold. Use the command chmod +x /scripts/thermal_alert.sh to ensure the notification script has execution permissions.
System Note: This establishes a persistent monitoring logic that ensures throughput is maintained; it automates the detection of passive loss without requiring a manual human audit for every event.
Section B: Dependency Fault-Lines:
The primary bottleneck in thermal imaging is atmospheric signal-attenuation. High humidity or airborne particulate matter can scatter infrared radiation, leading to an underestimation of the actual temperature. Furthermore, reflections from metallic surfaces (low-emissivity materials) can mirror the heat of the auditor or surrounding equipment; this creates “phantom” hot spots that have no basis in the physical assets being inspected. If the software library libirimager.so is missing or improperly linked, the radiometric data stream will fail to initialize, resulting in a loss of per-pixel temperature data.
THE TROUBLESHOOTING MATRIX
Section C: Logs & Debugging:
When diagnosing sensor failures or data inconsistencies, the first point of audit is the system log located at /var/log/thermal/sensor_diag.log. Look for error strings such as “SENSOR_OVERFLOW_ERR” or “COMM_TIMEOUT_MODBUS.”
If the visual feed displays an “Isotherm” error, this indicates the temperature of the target is outside the calibrated range of the current lens or sensor setting. To resolve this, increase the range settings in the configuration file located at /etc/thermal_cam/config.json and restart the service. For physical readout verification, use a fluke-multimeter with a K-type thermocouple to cross-reference the IR sensor’s data against a direct contact measurement; this ensures the emissivity settings are accurate.
Visual cues such as “washed out” images often point to a lack of thermal contrast. This is frequently caused by a failure in the Auto-Gain Control (AGC) loop. Manually lock the thermal span to a narrow window (e.g., 20C to 40C) to improve the visualization of passive loss points that are only slightly warmer than the surrounding environment.
OPTIMIZATION & HARDENING
– Performance Tuning: To maximize data throughput for high-resolution thermal video, implement a concurrency model where the raw frames are processed on the GPU (via CUDA) rather than the CPU. This reduces latency between the detection of a thermal event and the triggering of a cooling response or alert.
– Security Hardening: Thermal cameras connected to a network are vulnerable entry points. Disable all unused services such as Telnet or FTP. Apply strict firewall rules via iptables to allow incoming connections only from the specific MAC address of the audit workstation. Restrict the chmod permissions of the thermal data directory to prevent unauthorized modification of historical records.
– Scaling Logic: When expanding the thermal audit to a multi-site infrastructure, employ a centralized “Master-Node” architecture. Each site runs a local “Collector” that aggregates data from dozens of sensors; this reduces the network overhead by only transmitting summarized thermal anomalies to the central “Master” database rather than a continuous high-bandwidth video feed.
THE ADMIN DESK
1. How do I fix a blurry IR image?
Most high-end sensors require manual focus or a programmed autofocus routine. Use the command camera-ctl –focus-auto to align the Germanium lens. Check for dust or fingerprints on the lens and clean only with specialized optical wipes.
2. Why is the camera reporting 100 degrees C on a cold wire?
Verify the emissivity setting. Low-emissivity surfaces like polished metal reflect heat from nearby sources. Use black PVC tape as a reference marker on the wire and measure the temperature of the tape instead of the bare metal.
3. Can I perform an audit through a plexiglass window?
No. Infrared radiation in the LWIR spectrum does not pass through standard glass or plexiglass. You must use an IR-transparent window made of Calcium Fluoride or open the enclosure to get a direct line-of-sight to the components.
4. What is the meaning of a “Transient Thermal Event”?
This occurs when a component heats up rapidly during a power surge and then cools. These events are often missed by manual audits. Use a continuous-monitoring sensor and search the logs for spikes in the thermal-inertia metrics.
5. How do I update the camera firmware safely?
Download the .bin file from the manufacturer. Connect the device via USB and use the firmware-update –path /tmp/camera_v2.bin command. Ensure the device is connected to a UPS to prevent a power loss during the flash process.